


How to Test If RFID Tags for Asset Tracking Fit Your School’s Environment?
You’ve heard the success stories. Other schools are slashing inventory time from days to minutes. They’re finding lost microscopes behind storage closets. They know exactly which laptop cart is missing a Chromebook before the bell even rings.
But here’s the question that stops most school leaders cold: Will RFID tags for asset tracking in schools actually work in my building?
Not someone else’s shiny new campus. Not a warehouse. Your school. With its cinderblock walls, metal lockers, crowded hallways, and that one science lab that seems to block every wireless signal.
The good news is you don’t have to guess. You can test before you buy. And the test takes less than an afternoon.
Here’s exactly how to do it.
Why you absolutely need to test first
RFID is reliable, but it’s not magic. Radio waves behave differently around different materials. A tag that works beautifully on a plastic binder might struggle when stuck on a metal filing cabinet. A reader that picks up tags from fifteen feet away in an open gym might only get six feet in a hallway lined with lockers.
That doesn’t mean RFID fails in schools. It means you need the right combination of tags, readers, and placement. Testing reveals exactly what works in your specific environment before you spend on hundreds of tags.
Think of it like buying paint samples for the gym wall. You don’t order fifty gallons of “Cardinal Red” without brushing a little on first.
What you’ll need for a simple school test
You don’t need expensive equipment to start. Most reputable suppliers offer small sample kits. Ask for:
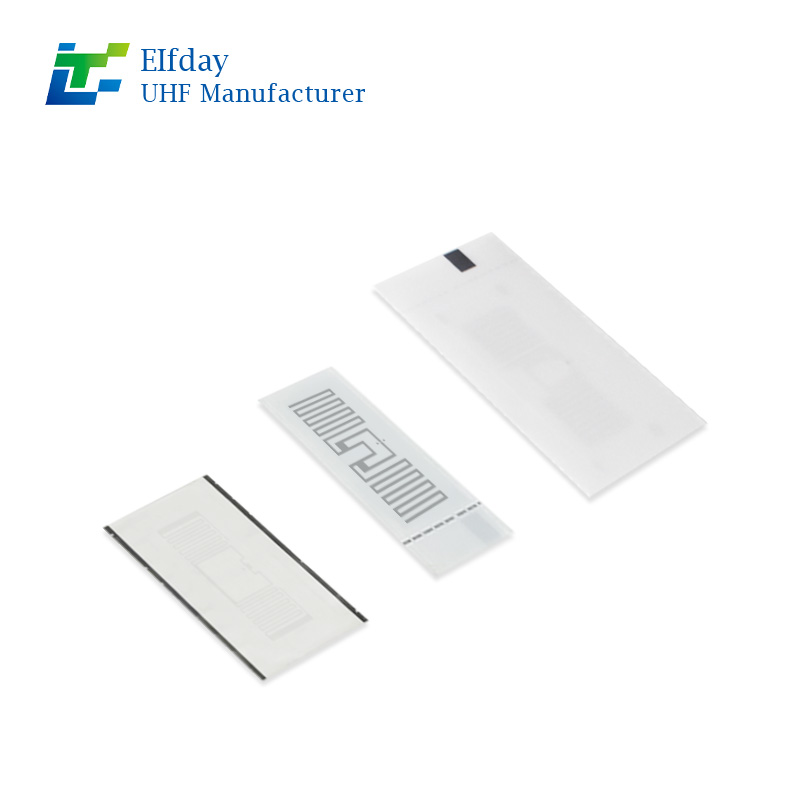
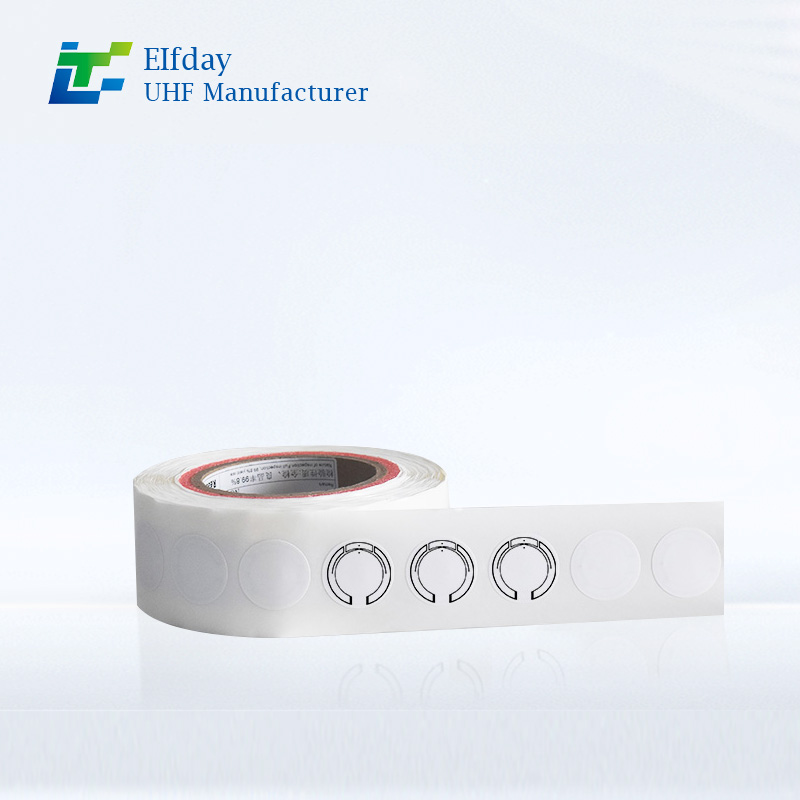
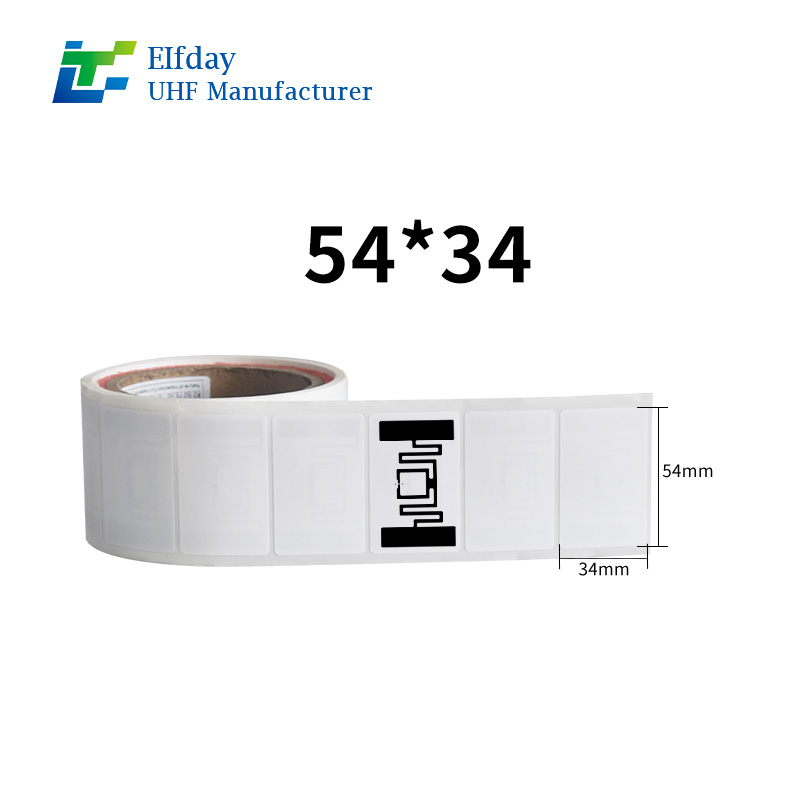
Ten to twenty passive UHF RFID tags (different styles: thin adhesive, hard plastic, on-metal)
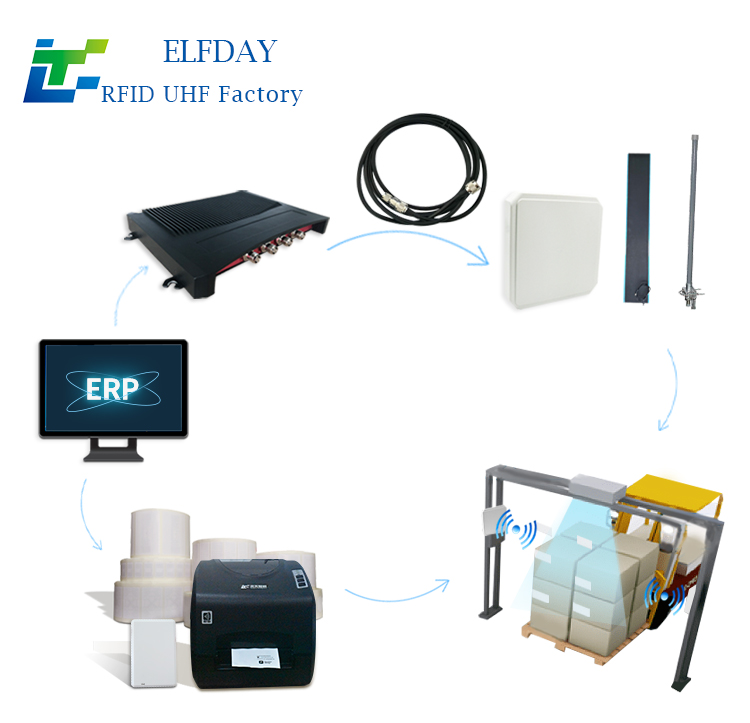
One handheld reader (basic model is fine)
A few minutes to set up a free trial account on their software
If a supplier won’t give you a small test kit, find another supplier. Any company confident in their product will let you try before you commit.
Step 1 – Pick three zones in your school
RFID performance can vary dramatically from room to room. Don’t test everything at once. Choose three distinct areas:
Zone A – The easiest spot
A standard classroom with drywall, wooden desks, and minimal electronics. If RFID doesn’t work here, something is wrong with your gear.
Zone B – The medium challenge
The library or computer lab. Lots of books (which absorb radio waves) or multiple metal shelves. This tells you how well tags handle interference.
Zone C – The stress test
The gym equipment storage room, the science prep area with metal cabinets, or a hallway near the boiler (electrical noise). If tags survive here, they’ll survive anywhere.
Label your sample tags with masking tape so you know which tag type goes where.
Step 2 – Attach tags to real school assets
Now get hands-on. Grab items that represent your actual inventory:
A plastic Chromebook
A metal lab scale
A laminated hall pass (thin cardboard)
A glass beaker (curved surface)
A fabric gym bag
A steel locker door
Attach one tag to each item. For curved or metal surfaces, use the special on-metal tags from your sample kit. Press firmly and wait a minute for the adhesive to settle.
Pro tip: Don’t test by holding tags in the air. Attach them the way they’d live in real life—flat against the surface.
Step 3 – Measure read range in real conditions
Turn on your handheld reader. Stand five feet away from the tagged item. Can you read it?
Move back to ten feet. Still reading? Now fifteen feet.
Write down the maximum distance for each tag type on each surface. A standard plastic tag on a metal cabinet might only read from four feet. The on-metal tag on the same cabinet might read from twelve feet. That’s useful information.
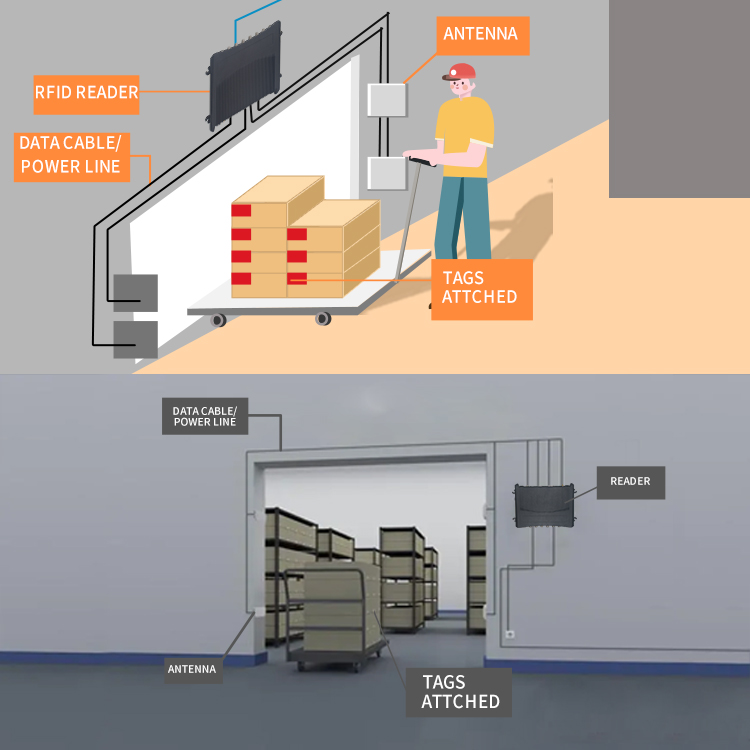
Now try the challenging situation: ask a student volunteer to hold the tagged laptop and walk behind a row of lockers. Does the reader still catch the signal? What about when the item is inside a closed metal drawer?
You’re not building a scientific report. You’re just looking for the real-world “yes, this works” or “nope, not here.”
Step 4 – Test the everyday annoyances
Classrooms are messy. Your RFID system needs to handle:
Dropped items – Toss a tagged binder across the room (gently). Scan the floor area. Can you still pick it up?
Stacked gear – Place five tagged laptops in a pile. Read them one at a time. A good system will list all five without you having to separate them.
Wet surfaces – Wipe a damp paper towel over a tag. Let it dry. Does it still scan? (Most do, but cheap ones fail.)
Movement – Walk past a fixed reader (if you have one) while holding a tagged tablet. Does it register without stopping?
These little real-world tests catch problems that spec sheets never mention.
What good results look like
After an hour of poking around, you’ll have clear answers. A passing test means:
At least one tag type reads from eight feet away on most of your common surfaces
You can wave the reader at a shelf of items and hear multiple beeps (or see multiple IDs on screen)
The on-metal tags actually work on your steel cabinets and lockers
No single material or location completely kills the signal
If you hit any of these marks, congratulations. RFID tags for asset tracking in schools will absolutely work in your building. You just need to order the tag styles that passed your test.
What bad results look like (and what to do about it)
Sometimes testing reveals problems. Don’t panic. Here’s what “bad” really means and how to fix it:
Symptom: Tags only read from two feet away.
Likely cause: Your reader power is turned down or you’re using low-quality tags. Ask the supplier to send a higher-gain tag or increase reader output.
Symptom: Nothing reads on metal surfaces.
Likely cause: You used standard tags. On-metal tags will solve this instantly. Retest.
Symptom: Reads are intermittent and jumpy.
Likely cause: Electrical interference from old ballasts, motors, or WiFi gear. Try moving your reader to a different angle or using a different frequency channel (your supplier can help).
In almost every case, the solution is choosing a different tag type or repositioning your readers—not abandoning RFID altogether.
A true story from a real school test
A middle school in Texas almost gave up on RFID before they even started. Their initial test with free sample tags failed on the first try. The metal shelving in their textbook room killed every signal.
But instead of quitting, they called the supplier. The supplier sent a batch of on-metal tags specifically designed for steel surfaces. The second test worked perfectly. That school now tracks over 2,000 textbooks and never loses a single class set.
The lesson? One failed test doesn’t mean RFID tags for asset tracking in schools won’t work for you. It just means you haven’t found the right tag yet.
One test you can’t skip: the “teacher handoff”
Here’s the test nobody talks about. Hand a tagged laptop to a teacher and ask them to carry it normally through the school day. No instructions. No special handling.
At the end of the day, scan for that tag. Is it still attached? Did the adhesive hold? Did the tag survive being shoved into a backpack next to a water bottle?
If a tag falls off on day one, it’s not durable enough for your school. Good tags use industrial adhesives that withstand constant handling. Cheap tags use stickers. Your test will reveal the difference fast.
What to do after your test passes
Once you’ve confirmed that RFID tags for asset tracking in schools fit your environment, don’t overthink the rollout. Start small.
Pick one problem area—maybe the laptop cart that never has all its devices, or the PE shed where basketballs grow legs. Tag fifty items. Use your handheld reader for two weeks. Show your principal the before-and-after time logs.
That small win will sell the rest of the system better than any brochure.
Most schools who run a real test end up ordering within a month. Not because they were pressured, but because the numbers speak for themselves. Three hours of weekly search time becomes twenty minutes. The “missing” projector turns up in the art room instead of being declared lost. The annual inventory that used to ruin a weekend now happens during a single planning period.
The final step: ask for a real demo on your turf
Online videos are fine. Case studies are nice. But nothing replaces waving a reader at your own metal cabinets and watching the tags respond.
Call a supplier. Tell them: “I want to test RFID tags for asset tracking in schools on my actual campus for one week.” Any supplier worth working with will say yes. If they hesitate, call the next one.
When the sample kit arrives, follow the steps above. You’ll know within two hours whether RFID fits your environment. And odds are, you’ll be surprised by how well it works.
So grab some test tags. Walk into your trickiest storage closet. Wave that reader. You might just find that the solution to your lost equipment problem has been waiting for a simple test all along.